
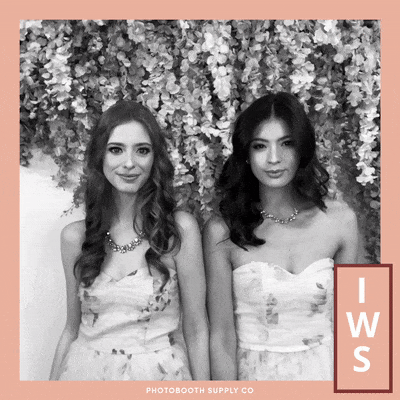
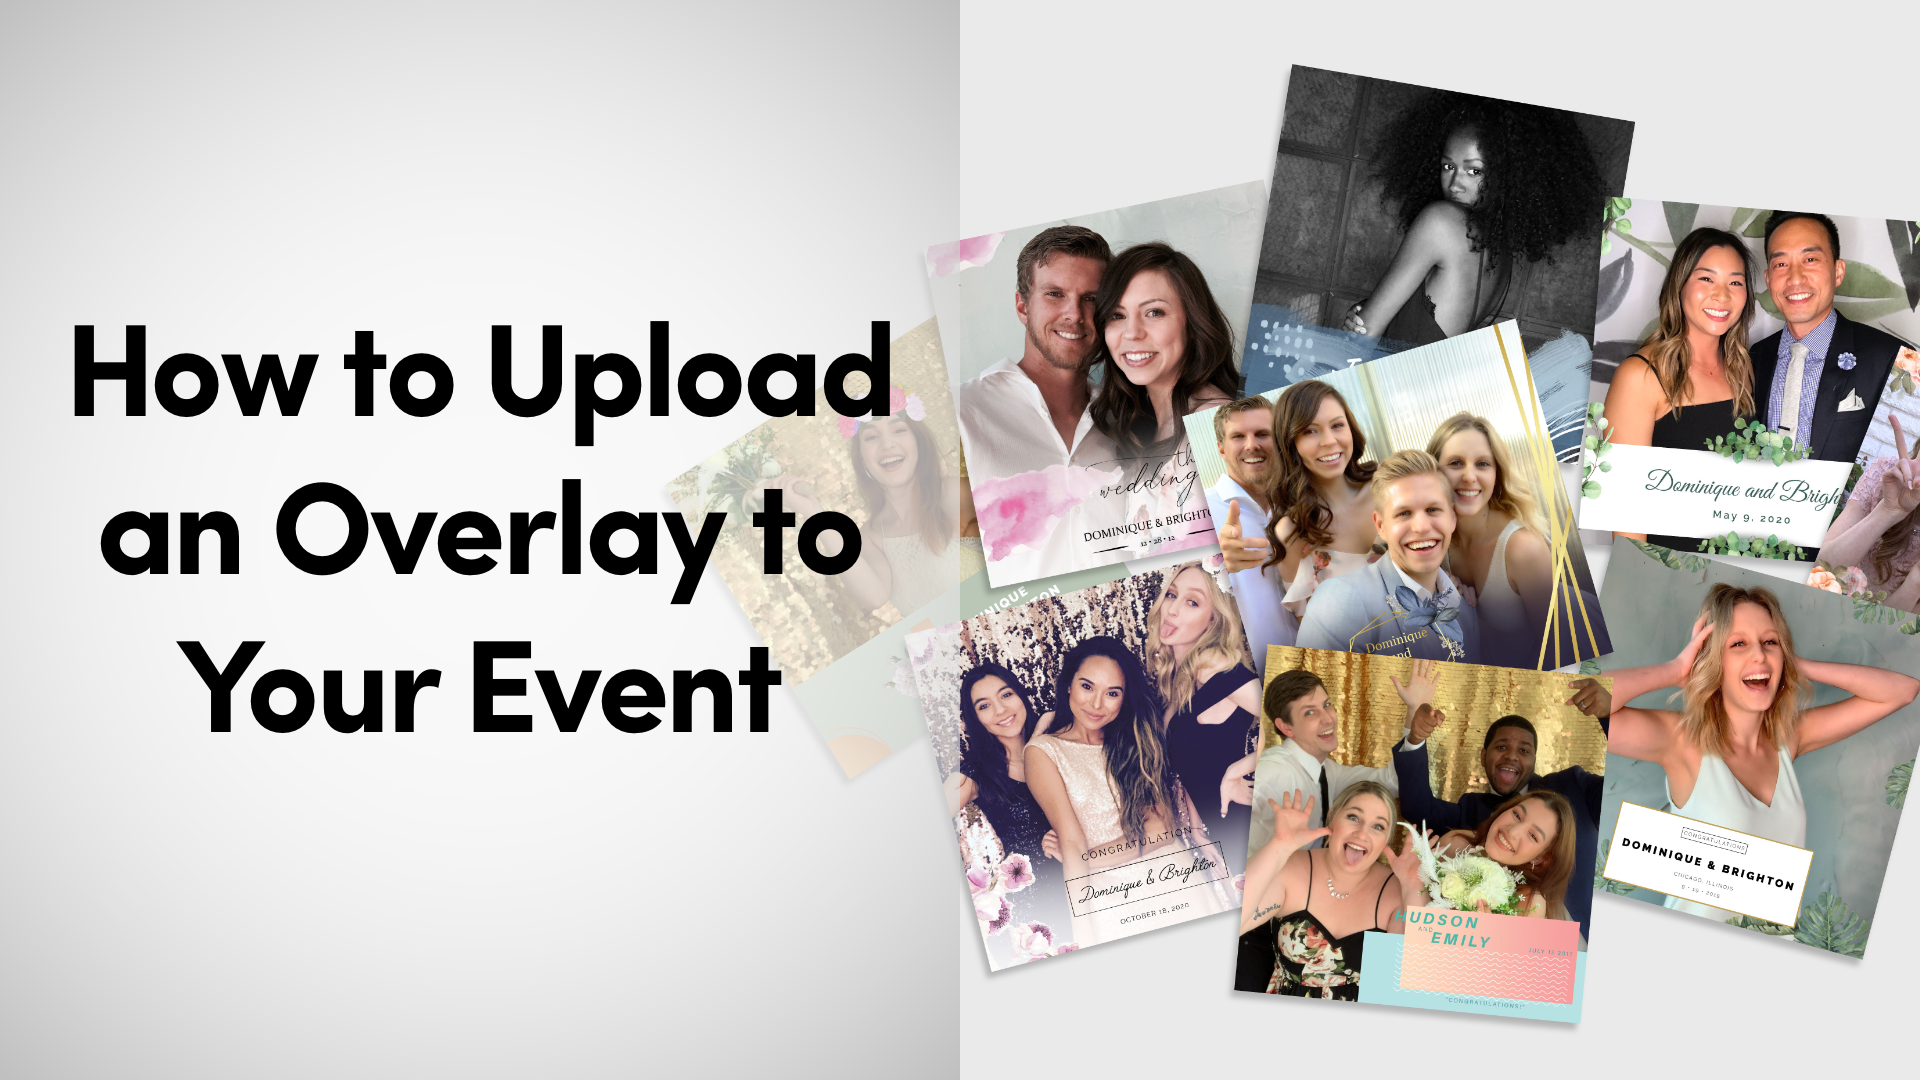
Overlays
An overlay is a design that gets placed on top of your captures. Overlays can include company logos, branding, or other customizations that are automatically added to captures for a truly personalized event experience.
Create your own using the Overlay Editor. Learn more here.
Table of Contents
Quick Start Video
How To
What To Know
Explainer
Explainer
What is an Overlay?
An overlay is a transparent design that is placed on top of your Photo, Boomerangs, Video, and GIF captures – whether it’s an in-person or Virtual Booth event.
What To Know
Overlay files must be in PNG format
Virtual Booth requires Square (1:1) overlays
One or multiple overlays can be used for each event
Photo Templates and Green Screen use different overlays
Overlay File Dimensions (width x height)
Portrait (3:4): 2048 x 2732
Landscape (4:3): 2732 x 2048
Square (1:1): 2048 x 2048
2:3 Ratio: 2048 x 3072
3:2 Ratio: 3072 x 2048
Quick Start Video
How to Upload a New Overlay File
In this video you will learn:
How to upload an overlay file from your computer
How to add an existing overlay to your event
Select the size and orientation for your overlay
Apply an overlay to your event
How To
Add Overlays to an Event
To add an overlay to your event:
Log in to the Salsa web app
Select an event or create a new event
Click Configure Event
Click Event Capture Settings
Click Overlays
Click Add Overlay
You will then be presented with three options:
Use Previous Design: Select an overlay design previously created in the Overlay Editor.
Use Overlay Library: Create a new overlay design or select and customize an overlay design from the Salsa Library collection.
Upload New Overlay: Upload an PNG directly from your computer or select an overlay from your Asset Library
What To Know
Uploading a New Overlay

When uploading a new overlay to your event, you will need to select the orientation of your overlay – Portrait, Landscape, or Square.
Make sure to select the same orientation as your overlay file and that the overlay matches the dimensions.
Portrait: 2048 x 2732
Landscape: 2732 x 2048
Square: 2048 x 2048
If the overlay dimensions do not match, you will receive a message informing you that the overlay may not appear as expected with an option to continue or upload and select a different file.
How To
Delete an Overlay from an Event
If you’ve selected the wrong overlay and want to remove it completely from the event, you can delete it from the Overlay Settings.
To delete an overlay from an event:
Log in to the Salsa web app
Select an event or create a new event
Click Configure Event
Click Event Capture Settings
Click Overlays
Click Delete
Click Remove Overlay to confirm
Note: Deleting an overlay from an event will not delete it from your Asset Library or any other events.
How To
Download Overlays from Salsa Marketing Materials
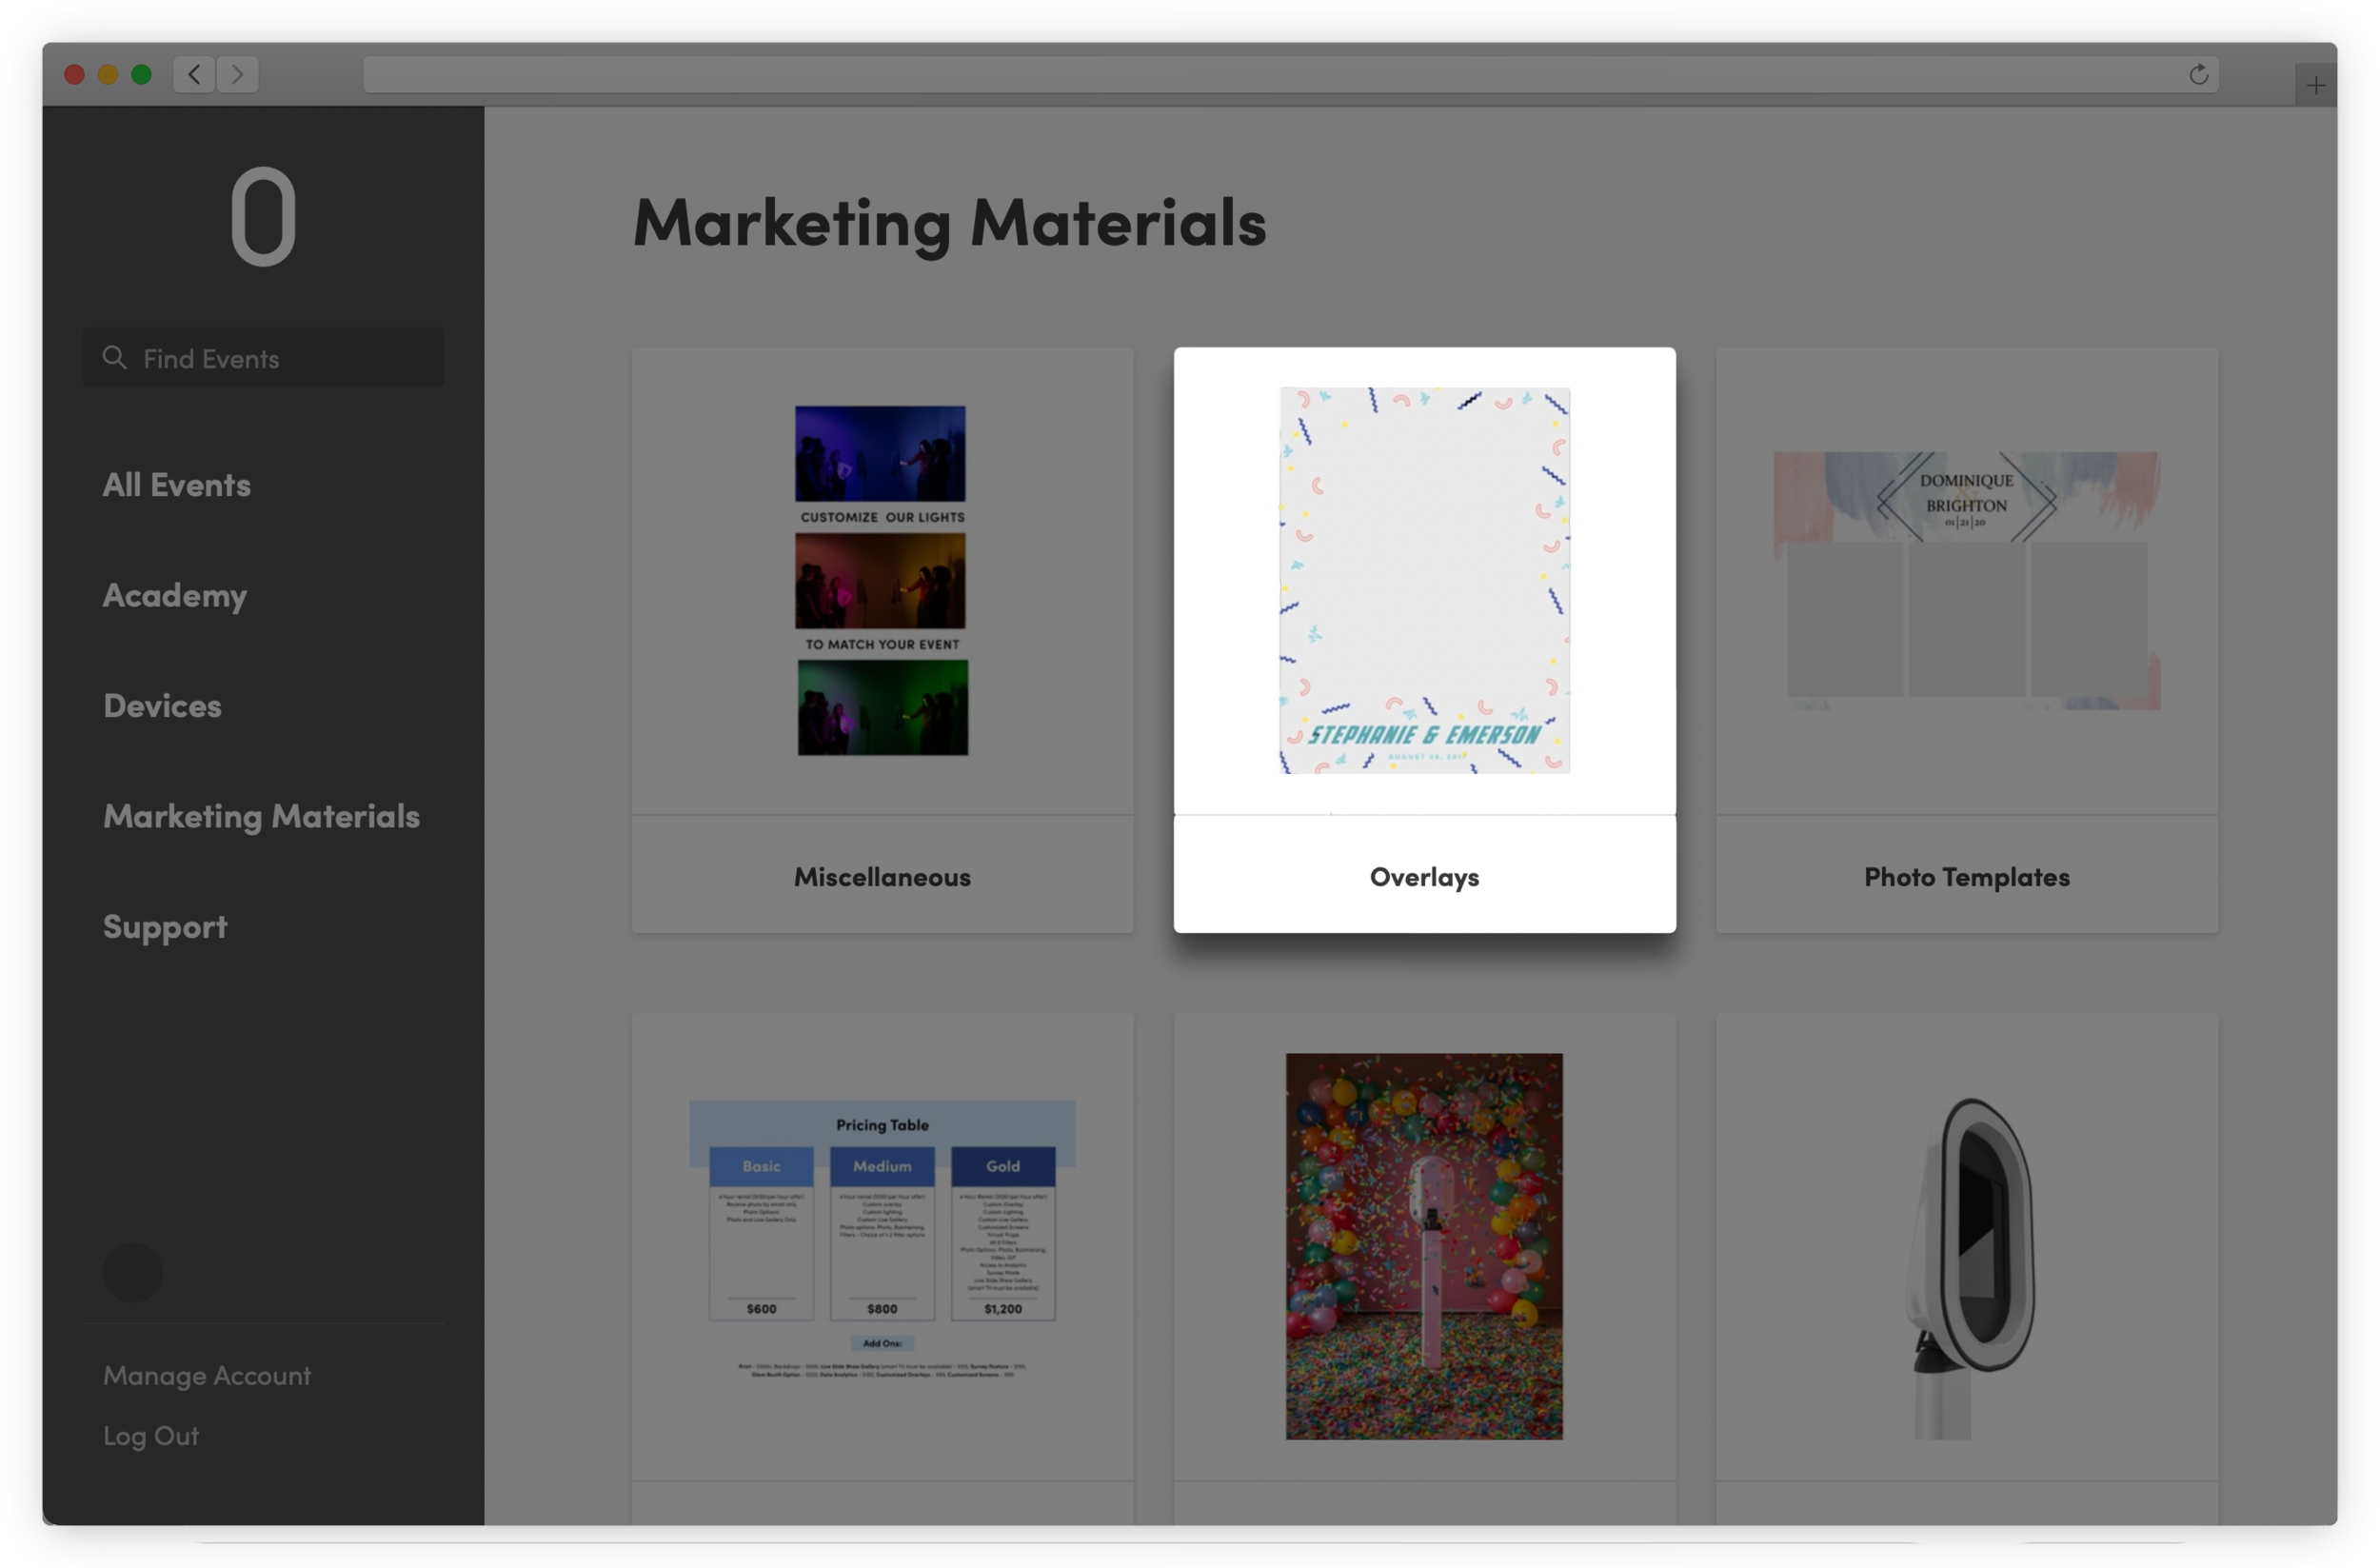
The Overlay Editor includes a large number of pre-designed overlays available for editing and adding to your event.
More options can be found within the Marketing Materials section of the Salsa web app.
Learn more about Salsa Marketing Materials
If you do not own a Salsa Booth, you will need to create your own or purchase them from a third party.
How To
Add Multiple Overlays to an Event

You can add multiple overlays in the Overlays section. Adding more than one overlay will give your guests the option to choose between overlays at an event.
To add multiple overlays, head to the Overlay settings within an event.
Click Add Overlay
Choose an image from the Asset Library or upload a new overlay
Repeat steps to add additional overlays to your event.
Explainer
What is an Animated Overlay?

Animated overlays are a series of PNGs that play one after another. The result is a short video that loops over the capture, kind of like a flip book!
What To Know
You can add up to five (5) additional frames to an overlays, for a total of six (6) frames
The speed of the animation can be controlled with the Frame Speed slider after at least one frame is added.
Animated overlays can be used with Photos, but they will not work as intended. Photos will only show one of the PNG frames.
Note: Animated Overlays require a Salsa Pro subscription.
How To
Create an Animated Overlay
You can create animated overlays by uploading multiple PNGs to one overlay:
To create an animated overlay:
Log in to the Salsa web app
Select an event or create a new event
Click Configure Event
Click Event Capture Settings
Click Overlays
Click Edit Overlay Frames next to an added overlay
Select the next frame from your Asset Library or upload a new PNG
Click the X to save and close
With multiple frames uploaded to a single Adjust the speed of the animation with the Frame Speed slider
How To
Change the Speed of an Animated Overlay

You can control the speed of how quickly an animated overlay plays after multiple frames have been added to an overlay.
To change the speed of an animated overlay:
Log in to the Salsa web app
Select an event or create a new event
Click Configure Event
Click Event Capture Settings
Click Overlays
Adjust the Frame Speed Slider next to the animated overlay.
Note: The frame speed slider adjusts how long each frame is displayed before the next one is shown.
FAQ
Why do my overlays appear flipped when taking a capture?
Mirroring is turned on in Salsa’s Camera Settings by default. Mirroring allows guests to easily position themselves in front of the camera. The overlay is also mirrored so that guests are not accidentally obscured once the finished capture is flipped back to its normal orientation.
Can the overlay files provided in the Marketing Materials be edited in Canva?
The files provided in the Marketing Material are in a .psd format. PSD is currently not supported by Canva. These files can only be opened within Photoshop or any similar image editing software or web program that supports the PSD file format.